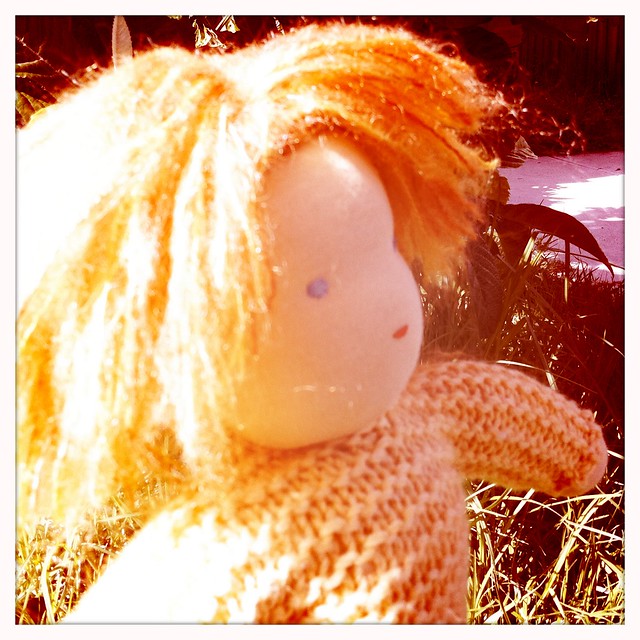
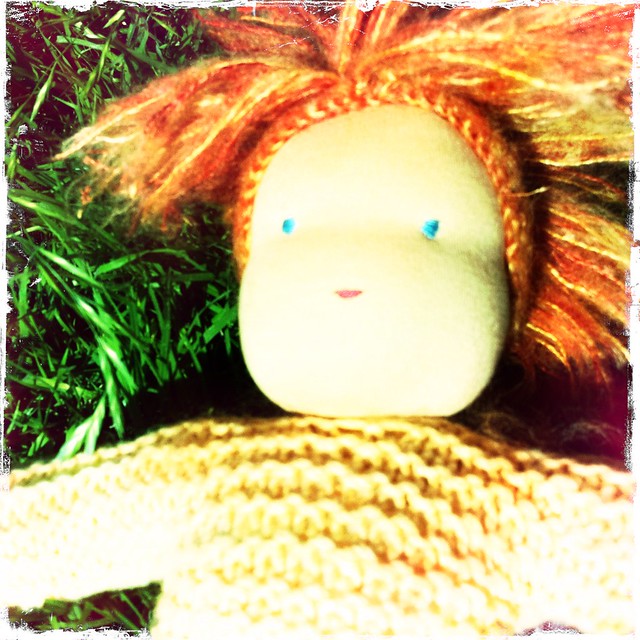
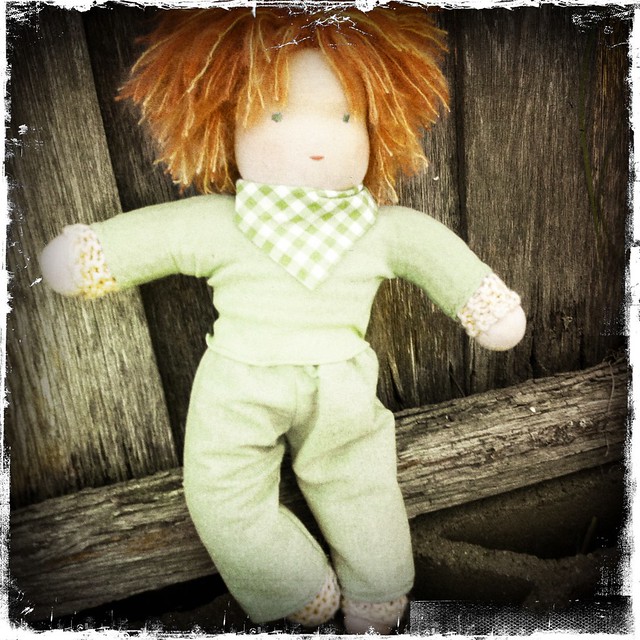
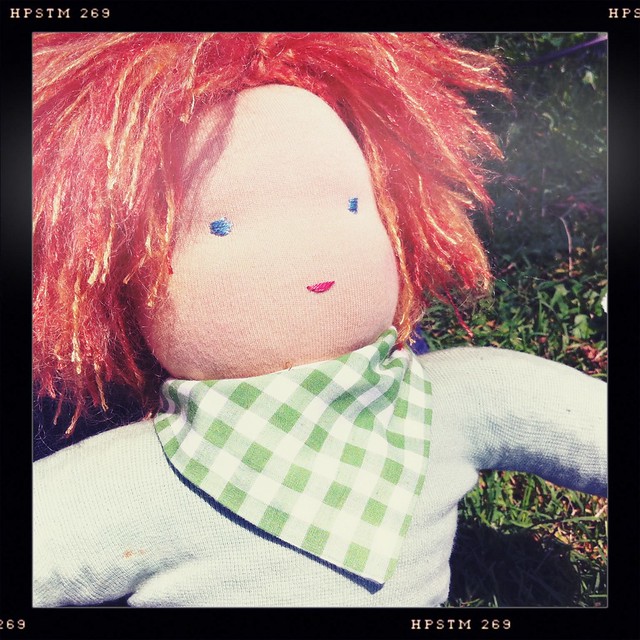
In my lovely lovely Steiner Craft Curriculum course, I started making a doll with a knitted body. The children do this in Class 6, being so adept by this stage at all kinds of handcraft, and also because they study human biology in this year.
I decided to make the doll for my little chook, who is turning two on New Years Day. Hooray!
This is not so much a tutorial so much as a visual overview of the process:
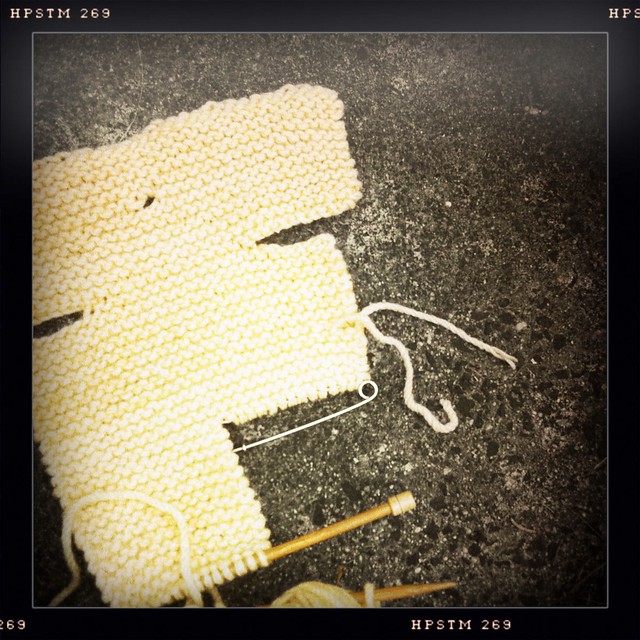
Knit the body first. I used 6mm needles and 16 ply pure wool in pastel apricot from
Uralla Wool Room
I started at the shoulders and cast on 36 stitches. More details on how to knit these kinds of bodies can be found in
A First Book of Knitting for Children.
After knitting the body, you start on the head. I used a
40mm wide cotton medical gauze tube for the inner head, to give you an idea of the size. There are some amazing tutorials for making formed doll heads online.
Here is one! or from this
marvelous book (my bible). The only difference would be that for a knitted body, leave a knot at the base of the "muff" (shoulder part), so that it can be undone later to fit the shoulders through the tiny hole made in the knitting (only 2 stitches cast off for the hole so pretty narrow). Make sure the head is stuffed very firmly.
Sew up the seams of the dolly, leaving a bit at the back for stuffing wool fleece.
Undo the knot at the head/shoulder base, and squish the shoulder through the small hole in the knitting.
Then cut the gauze tube and sew in the ends to the shoulders.
You need to cut four squares about 15 cm square, and make feet balls and slightly smaller hand balls (filled with wool fleece). These will sit just inside the knitted openings and be stitched on with sewing thread once the doll is filled.
With the body and head sewn up completely, I then placed pins where the eyes, mouth and hairline looked best.
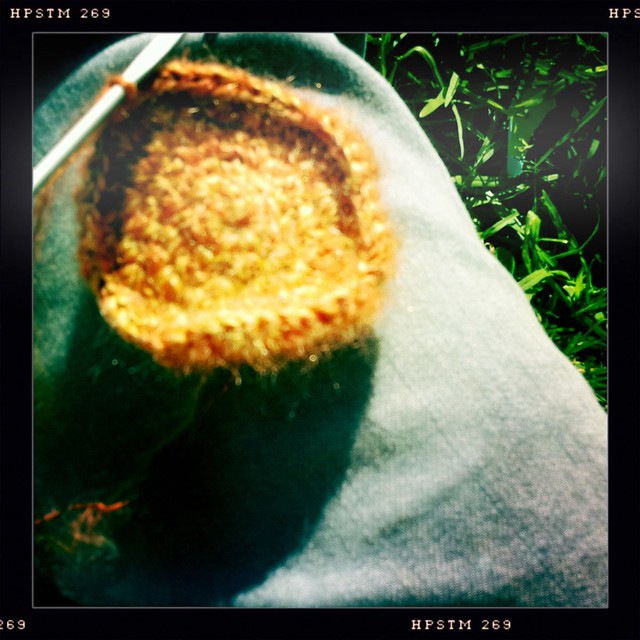
The WIG: I decided to crochet the base wig, using a 4mm hook and
Rowan Kidsilk Haze in Ember and Brick.
Pin on the wig!
It's time to sew the eyes and mouth with embroidery thread and a very long needle.
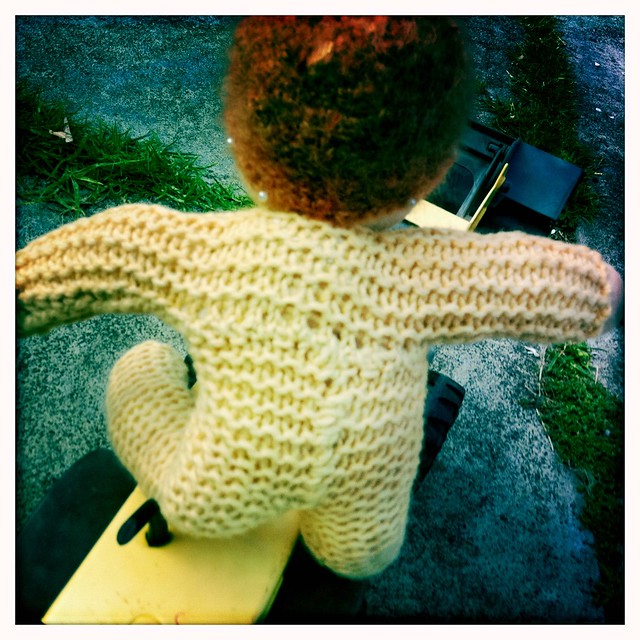
For the hair, I cut lengths of the two colours and thread through and knotted on using a crochet hook.
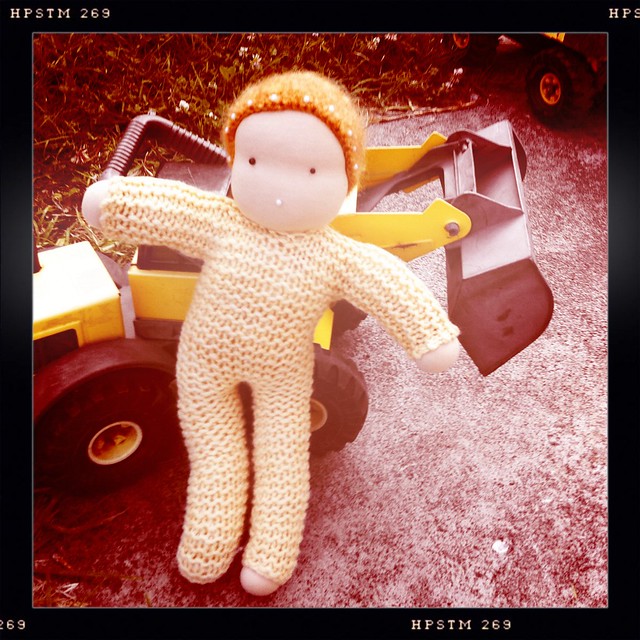
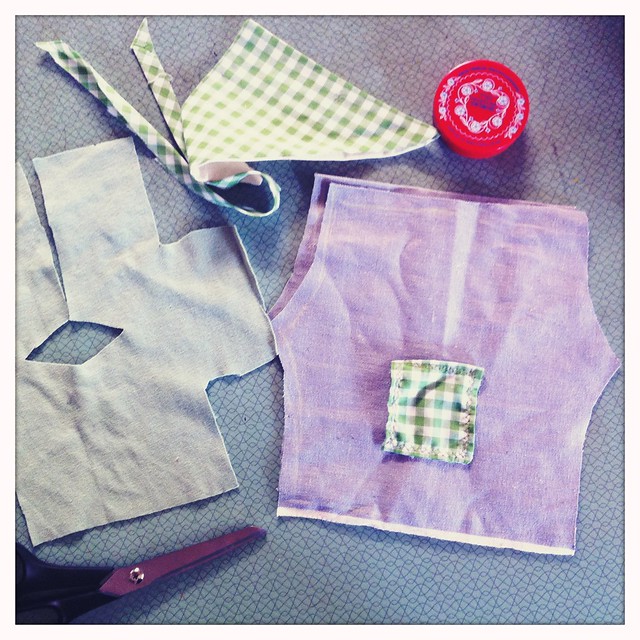
Hooray, almost finished! Just the clothes and he's ready for a birthday party!
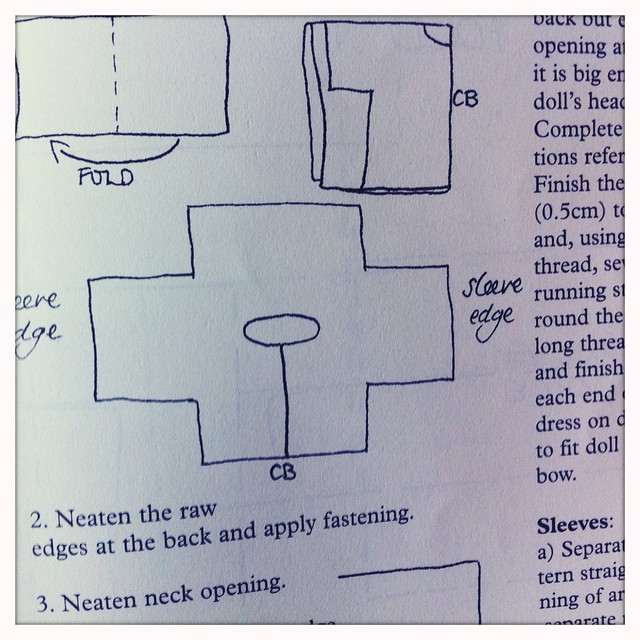
Again turning to my doll making bible,
Making Waldorf Dolls , for the simplest way to make a shirt for a doll!