Showing posts with label tutorial. Show all posts

Monday, January 28, 2013

Mabel's Exercise Book Cover Tutorial!!


 You can cover any kind of exercise book, but the kind with hard covers work best.

Lay your book over the fabric you want. Cotton or linen works best.


 Leave a good size border around the book on all side and with your ruler draw a line for where to cut. We just use our eyes to judge how straight things are.

 Cut!

 Use your fingers to press an inner seam.

 Then fold over again, so the raw edge is hidden.
Pin and sew edges.

 Now do the same for the short edges. Fold over like before, pin and sew.

 Now, line up on the fabric and fold over the edges to make the envelop sides. 
Pin and sew!

 You now have a book cover! If you would like a piece of elastic to keep your book closed, just cut a length of elastic and sew it onto the very edge of the top and bottom of the back fold.


Add mushrooms, flowers or whatever else you can think of!! Hooray!!!
Now you have pretty exercise books for school!
And the best thing is, when you've used up your exercise book, you can take it out and put the cover on the new one!!
Have fun!

Tuesday, December 18, 2012

ice lanterns


Last night my lovely big girl celebrated six incredible years with her gorgeous teacher, Roger.
It is hard to express how grateful I feel for having the incredible fortune to have had him teach my eldest daughter for so long. He has opened up each child in his class with such patience, art and wisdom, and last night was a testament to his loving dedication to his job as a Steiner/Waldorf teacher and the Steiner/Waldorf curriculum itself. The children danced, played multiple instruments, sang and played on each other's songs they had composed, performed Eurythmy, recited poetry, all the while treating each other with love and respect. So humbling! So inspiring! I feel so grateful.

We made ice lanterns to adorn the tables, (a suggestion from my dear friend Anna).
She sent me a couple of links on how to do it and we just went for it. They worked beautifully, (mostly).

 and here's how we made them:
*get a reasonably deep bowl and rather skinny glass. 
*gather foliage of your choice and arrange in the bowl.
*pop the glass in the middle (it's good for it to sit on some of the foliage so that the water freezes underneath. then you have some ice for the tea light to sit upon at the bottom of the hole.
*you could sticky tape the glass to the bowl (just over the top) to prevent the tilting of the glass (we should have done it but had no tape on hand)
*pour water into bowl, but not right to the top.
*stick in the freezer!
*the next day, take out your bowls and allow to defost a little bit before immersing (not so the water gets inside the bowl, however) in very warm water. also pour warm water into the glass. After a while, or with some impatient digging and wobbling and extra warm water, take out the glass. and slip the lantern out of the bowl.
*place lantern on a dish which will collect the "meltage" (I think I just made up that word).
*pop a tea light into the middle and voila!! 
A totally gorgeous natural beautiful lantern for the table.
WARNING: don't take the bowl straight out of the freezer and put it straight into very hot water like I did with the first one! It will break your bowl!
Our lovely lanterns lasted well for the 4 hours on a roughly 18 degrees Celcius (about 65 Farenheit) evening.


Wednesday, August 15, 2012

Signs...

It is about mid August in Melbourne, when the wattle is turning mustard and the giant magnolia trees suddenly blossom, that I start feeling hopeful for the return of warmth. Sure, it's a little out of touch with reality. We will get plenty more freezing night and icy winds, but the blossoms signal hope, change and moving on!


As for the knitting, nothing will stop me!

I finished another hot water bottle cover with Fair isle patterns on both side, made in 16ply pure wool from Uralla Wool Room. This is what my daughters did in Class 4 as part of the Steiner/Waldorf craft curriculum. Ravelled here.

How to make your own Fair Isle Knitted Hottie Cover 
Cast on 35 stitches with 6mm needles (16ply wool). 
Start with garter stitch (plain knitting) and knit about 4 rows. 
Then increase on every 5th stitch to give you 42 stitches. 
Introduce your second colour and just play around with patterns and colours.Once your piece is as long as the hottie, do a couple of plain rows, then knit 12,  then cast off 18 stitches (which means you have to knit up to stitch 14 and then pop stitch 13 over stitch 14 and so on until 18 stitches are cast off, and you should then have 12 stitch left to knit.)
On next row, knit 12, cast on 18 stitches using backwards loop method, and then knit remaining 12 stitches to end.
You can now knit some plain rows before starting your second fair isle panel, and end with the size garter stitch panel to finish.
Fold right sides together and sew up bottom and sides, then turn out through the neck opening.
Now for the "neck", cast on with double pointed needles or circular (for magic loop) around the opening. Preferably you will have an even number of stitches (36 works well).
Knit a double rib neck and  cast off !

Friday, December 30, 2011

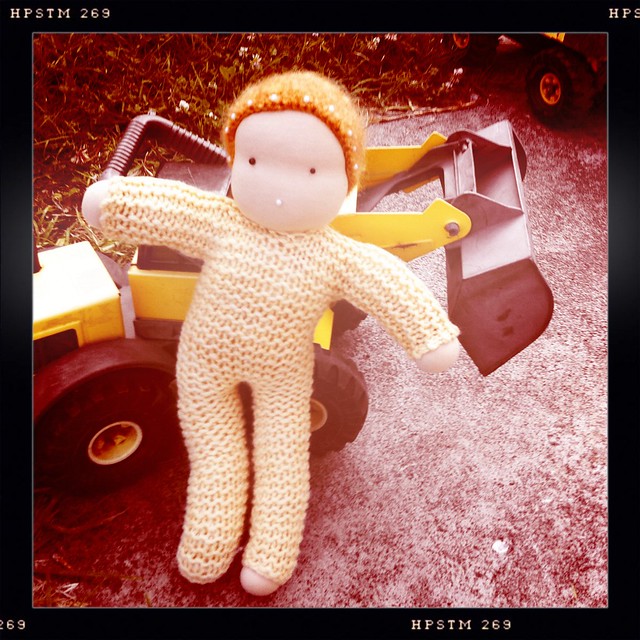
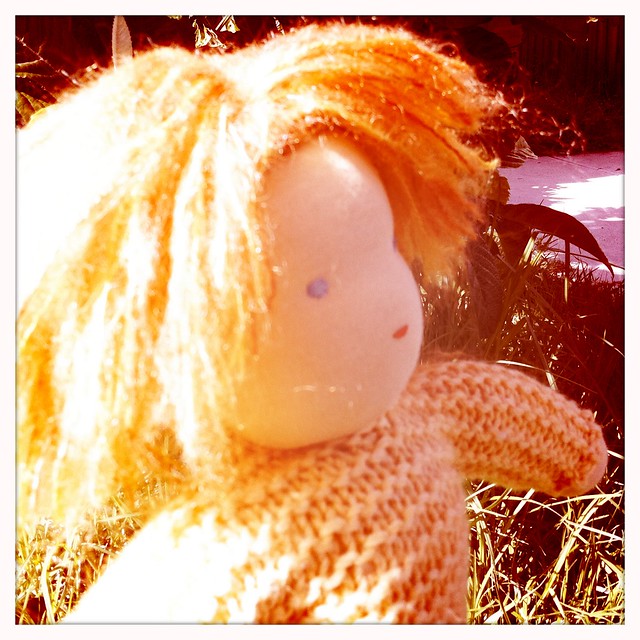
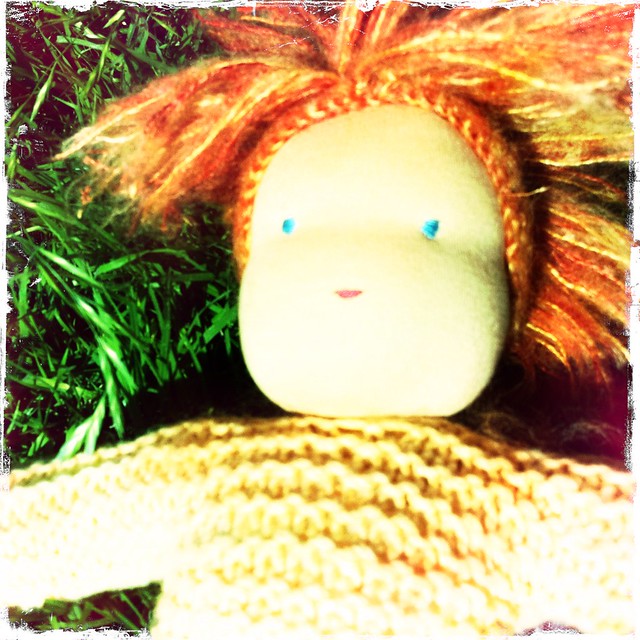
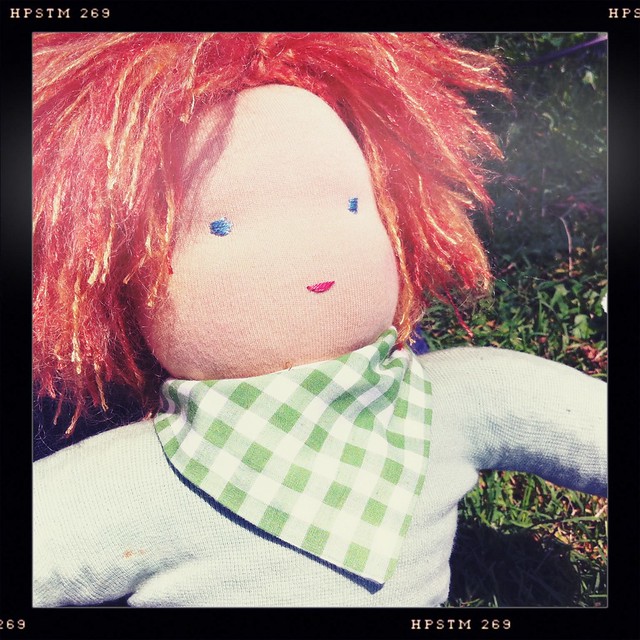
Knitted Waldorf/Steiner Doll aka Ginger Boy for a Ginger Boy

In my lovely lovely Steiner Craft Curriculum course, I started making a doll with a knitted body. The children do this in Class 6, being so adept by this stage at all kinds of handcraft, and also because they study human biology in this year.
I decided to make the doll for my little chook, who is turning two on New Years Day. Hooray!

This is not so much a tutorial so much as a visual overview of the process:

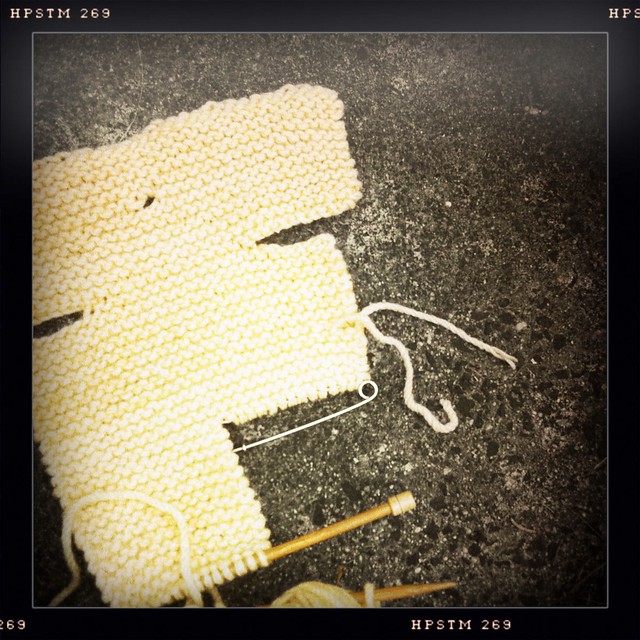
Knit the body first. I used 6mm needles and 16 ply pure wool in pastel apricot from Uralla Wool Room
I started at the shoulders and cast on 36 stitches. More details on how to knit these kinds of bodies can be found in A First Book of Knitting for Children.

 After knitting the body, you start on the head. I used a 40mm wide cotton medical gauze tube for the inner head, to give you an idea of the size.  There are some amazing tutorials for making formed doll heads online. Here is one! or from this marvelous book (my bible). The only difference would be that for a knitted body, leave a knot at the base of the "muff" (shoulder part), so that it can be undone later to fit the shoulders through the tiny hole made in the knitting (only 2 stitches cast off for the hole so pretty narrow). Make sure the head is stuffed very firmly.

Sew up the seams of the dolly, leaving a bit at the back for stuffing wool fleece. 
Undo the knot at the head/shoulder base, and squish the shoulder through the small hole in the knitting.
Then cut the gauze tube and sew in the ends to the shoulders.

You need to cut four squares about 15 cm square, and make feet balls and slightly smaller hand balls (filled with wool fleece). These will sit just inside the knitted openings and be stitched on with sewing thread once the doll is filled.
With the body and head sewn up completely, I then placed pins where the eyes, mouth and hairline looked best.

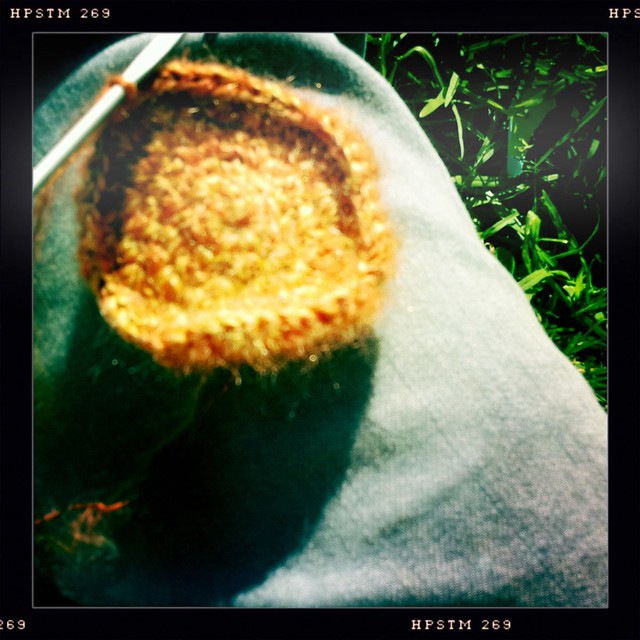
 The WIG: I decided to crochet the base wig, using a 4mm hook and Rowan Kidsilk Haze in Ember and Brick. 

Pin on the wig!
It's time to sew the eyes and mouth with embroidery thread and a very long needle. 
For the hair, I cut lengths of the two colours and thread through and knotted on using a crochet hook.

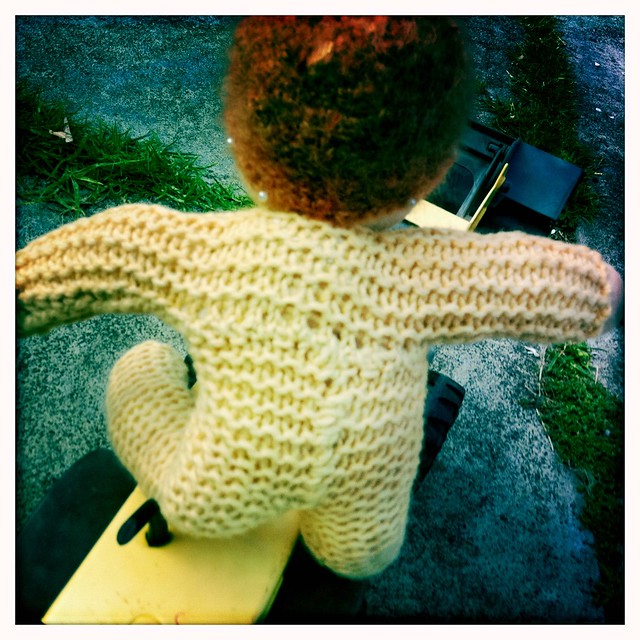
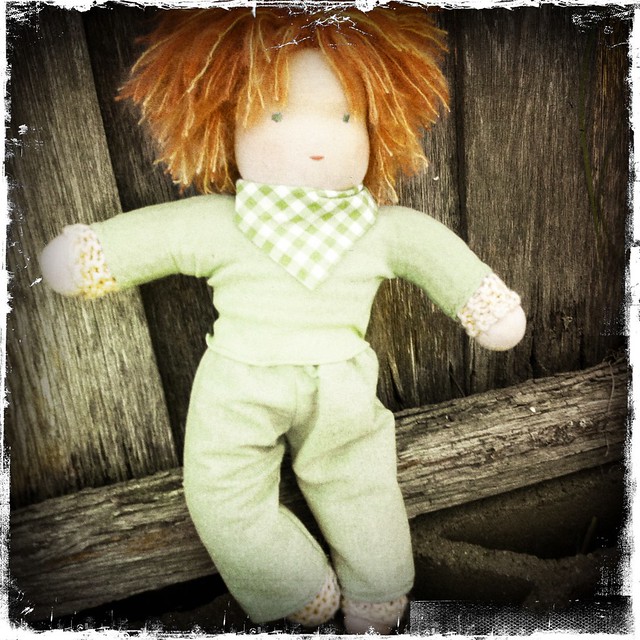
Hooray, almost finished! Just the clothes and he's ready for a birthday party! 

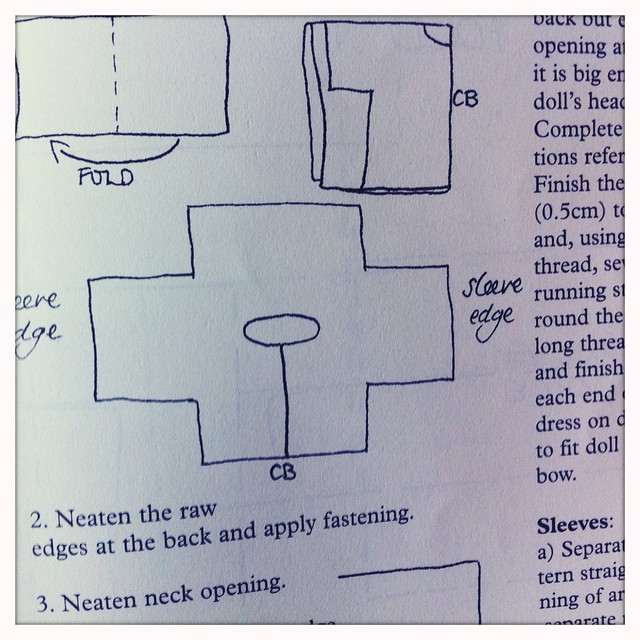
Again turning to my doll making bible, Making Waldorf Dolls , for the simplest way to make a shirt for a doll!


Saturday, December 4, 2010

Flooffy Cat Bloomers: Slightly Tutorialish

IN the tradition of making handmade gifts for all birthdays the Chicken's are invited to, I stayed up rather a bit late making a pair of Flooffy Cat Bloomers.
The first pair I ever made was about 7 years ago, when Chicken 1 played "Whiskers on Kittens" in a "My Favourite Things" play at Kinder. These are still squeezed into regularly around here, even though no-one is quite a size 4 anymore.
The slogan around our house at the moment: "Flooffy Cat Bloomers: everyone needs a pair!"
I took a few snaps so I could make this post a wee bit instructional.

1. If there isn't any Fake fur, or even, at a pinch, felted jumpers about, one needs only about 40cm of fake fur fabric. and some lining fabric. I used some cotton fabric I picked up years ago at an op shop.

2. I used this old pattern from Butterick, but the size only goes up to 3 years, so I kinda cut a very big seam allowance and made each piece longer, and it kinda worked!


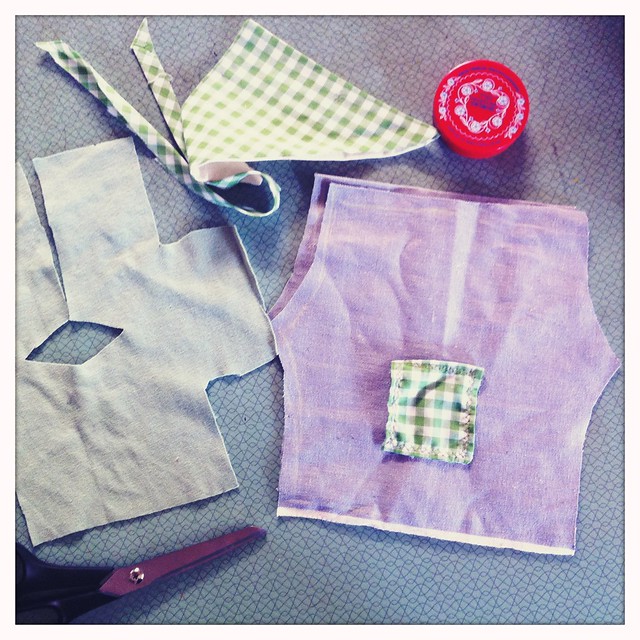
3. Next, I cut out four pieces of fabric (2 in fur, 2 in lining):


4. I then sewed the right side of lining to fluffy side of fur, leaving the top (waistline) open, and then turned inside out. I then sewed around the edge with zig zag (love zig zag!), joining the top edges by zig zagging at the edges.


5. I then placed the fur side together and sewed up both rises (that is curvy edges).
Then I turned inside out, and matched the sewn edges together, and all of a sudden, they looked like shorts! (Wouldn't you know it, I got so excited I forgot to take a photo of this stage!).
The you turn inside out again, and sew up the crotch. (I like to sew down the seams of the crotch with a  wide zig zag.)

6. The sew down the top of bloomers about an inch, leaving a bit of a gap so you can slip in the elastic.
Thread elastic through with a nappy pin, and sew the two ends, then slip inside and sew over the hole.


7. The turn pants inside out, and sew elastic straight onto the inside of the leg opening, stretching the elastic a bit so it gathers to create the bloomer effect!
8. THE TAIL! Cut a long piece of fur, sew into a tube, turn inside out and sew onto the bum of bloomers!!


Fini!
Give to birthday child and watch the pussycats run off into the sunset tails a-bouncing...a great quiet moment of victory for handmade!