Showing posts with label Steiner Education. Show all posts

Tuesday, April 23, 2013

persian prose to pixie hats

Last week I had my first full week of work as a casual Steiner teacher and it was big for me! I wasn't looking for work, it just came my way, and I gingerly accepted the challenge, knowing in my heart I could do it, but unable to ignore the voice inside reminding me I hadn't been in a classroom for quite some time.
So, I studied up recorder, times tables and decimal fractions,  immersed myself in Ancient Persian mythology and dived on in!
Here are some photos of the work we did!

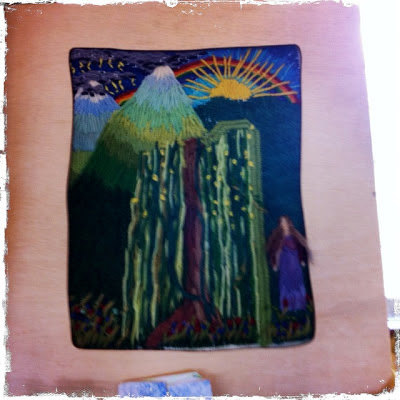
not my blackboard drawing, this one.

 I used Charles Kovaks' book, Ancient Mythologies as inspiration for the Persian mythology, telling stories about the creation of the earth by Ahura Mazdao,  the domestication of animals and the first bonfire!

We also explored the land of contrasts which is Persia (Iran) and drew a map. What fun.


 We tried a form drawing of a Persian star, with the help of a bowl and a ruler.
It's always so wonderful seeing the differences coming out in the children's creative work.


As soon as the week was over, I dived for the knitting needles, and quickly cast on a pixie hat for Mr P: Triskele Threads' new free Ravelry pattern Pixie Tadhg

Reading: or should I say, re-reading, one of our all time favourites!
"Dominic" by the most exquisite William Steig.
Everyone needs to read this book!! I mean it!
It is sublime story about a philosophical dog who sets out to discover the world. At once calming, and lyrical, whimsical and contemplative, healing and utterly charming, Dominic is a special read for all ages!
I started to read it to my class last week, and it made lumps in my throat as always.

Joining in Nicole for "Keep Calm Craft On" and Ginny's Yarn Along

Saturday, November 17, 2012

A Crafty Education.

We visited an Australian Steiner/Waldorf School Fair this morning and I busied myself gasping with amazement and snapping photos of all the incredible craft work!
It must feel like such an achievement for the children, to look upon their craft work over the years. They must feel so capable, so self sufficient , to be able to make such useful and beautiful things!


First was the Pre-school/ Kindergarten work! Plant dyed wool (except for the blue which was food dye) pom poms, oodles of finger knitting, stitching on loose hessian and Knitting Nancies.


Class 1 : more pom poms, first attempts at knitting, stitched recorder bags, knitted lambs(from squares).


 Class 2: Knitted animals, "starburst sticth" pillows, needles holder case, simple weavings.


 Class 3: cross stitch (see my post), bags with stitching and weaving, knitted beanies and toys...


 Class 4: the magnificent fair isle knitting! Bags, toys..., picture tapestries based on Norse mythology...


Class 5: the introduction of crochet, ponchos, hats, bags, toys and picture weavings


 Class 6: Dolls!!!!


Wednesday, May 9, 2012

a little bit of sunshine...


In Class 2,  the children are venturing out into the world a little more adventurously: climbing trees becomes an obsession, feeling the wind in their hair, the elements are experienced intensely. In the Steiner school s here in Australia, the fairy tales of Class 1 become longer, episodic journeys , often from the Celtic tradition, and these stories seem to expand like the rays of the sun.
In craft, the children pick up their sewing needles again, and stitch the sunburst stitch on colourful muslin. The stitches ray out, stitched from the middle out in a circle,  multi coloured and arranged so that each expanding circle of stitches sits just inside the previous row's stitches.
I really needed to concentrate making this article, yet felt so expanded by the colours starting to ray out in front of me. There are two sides, with a piece of muslin inside to thicken, in case you want to use it like an oven mitt or pot rest.
It opened my heart and delighted me, and now hangs in my kitchen waiting for it's first pot to sit under!
yippee!

Friday, December 30, 2011

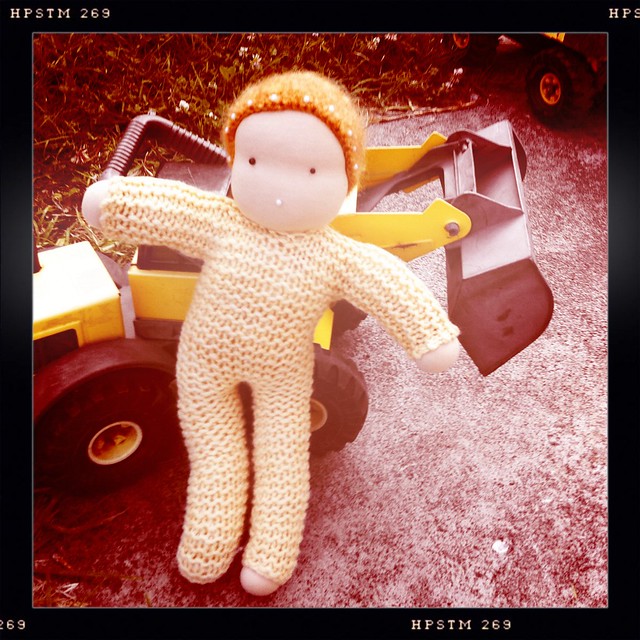
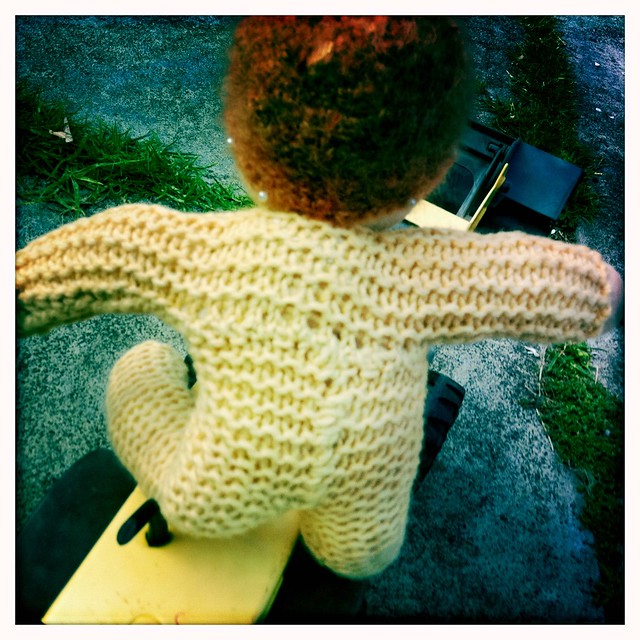
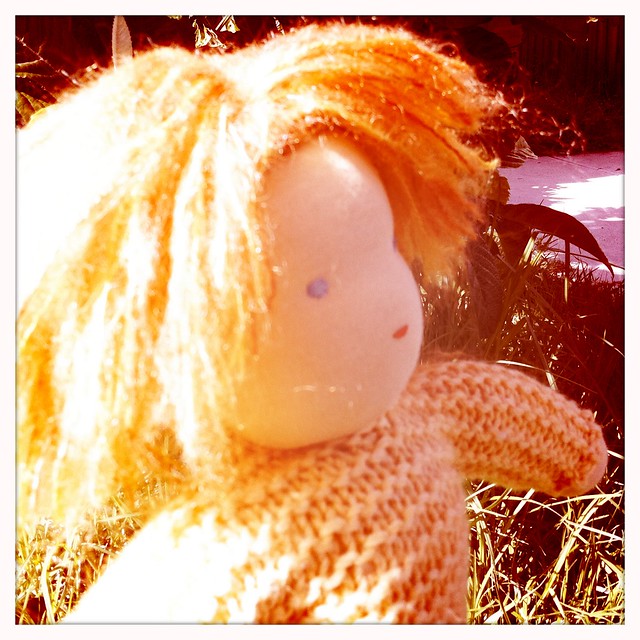
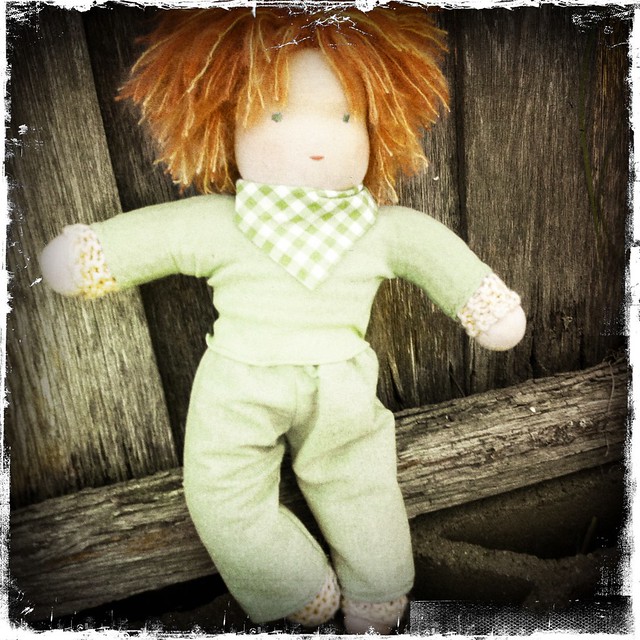
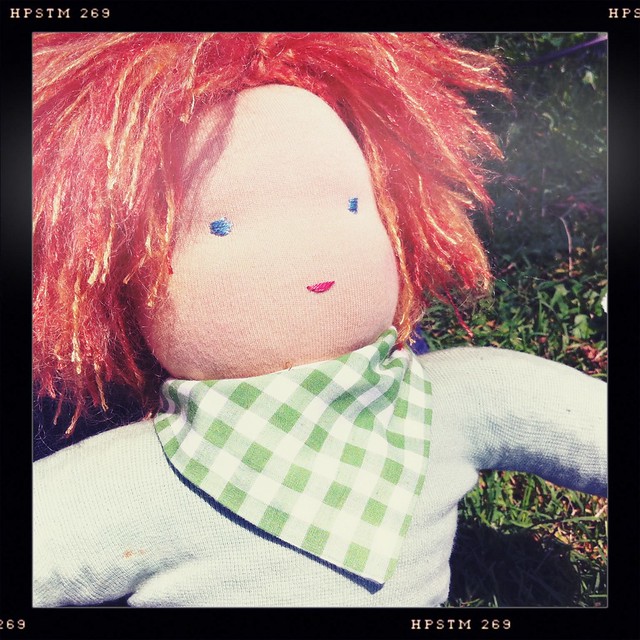
Knitted Waldorf/Steiner Doll aka Ginger Boy for a Ginger Boy

In my lovely lovely Steiner Craft Curriculum course, I started making a doll with a knitted body. The children do this in Class 6, being so adept by this stage at all kinds of handcraft, and also because they study human biology in this year.
I decided to make the doll for my little chook, who is turning two on New Years Day. Hooray!

This is not so much a tutorial so much as a visual overview of the process:

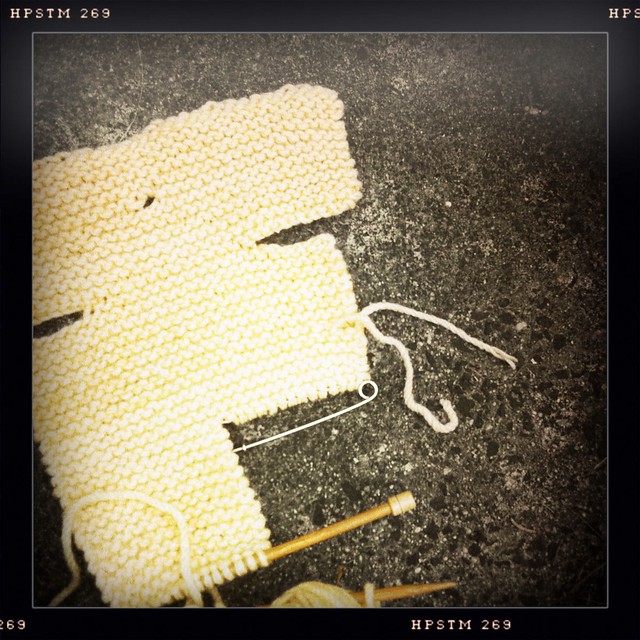
Knit the body first. I used 6mm needles and 16 ply pure wool in pastel apricot from Uralla Wool Room
I started at the shoulders and cast on 36 stitches. More details on how to knit these kinds of bodies can be found in A First Book of Knitting for Children.

 After knitting the body, you start on the head. I used a 40mm wide cotton medical gauze tube for the inner head, to give you an idea of the size.  There are some amazing tutorials for making formed doll heads online. Here is one! or from this marvelous book (my bible). The only difference would be that for a knitted body, leave a knot at the base of the "muff" (shoulder part), so that it can be undone later to fit the shoulders through the tiny hole made in the knitting (only 2 stitches cast off for the hole so pretty narrow). Make sure the head is stuffed very firmly.

Sew up the seams of the dolly, leaving a bit at the back for stuffing wool fleece. 
Undo the knot at the head/shoulder base, and squish the shoulder through the small hole in the knitting.
Then cut the gauze tube and sew in the ends to the shoulders.

You need to cut four squares about 15 cm square, and make feet balls and slightly smaller hand balls (filled with wool fleece). These will sit just inside the knitted openings and be stitched on with sewing thread once the doll is filled.
With the body and head sewn up completely, I then placed pins where the eyes, mouth and hairline looked best.

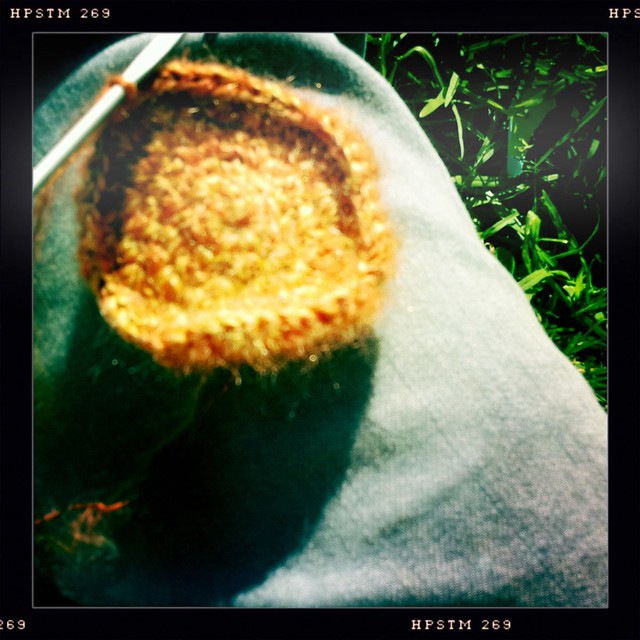
 The WIG: I decided to crochet the base wig, using a 4mm hook and Rowan Kidsilk Haze in Ember and Brick. 

Pin on the wig!
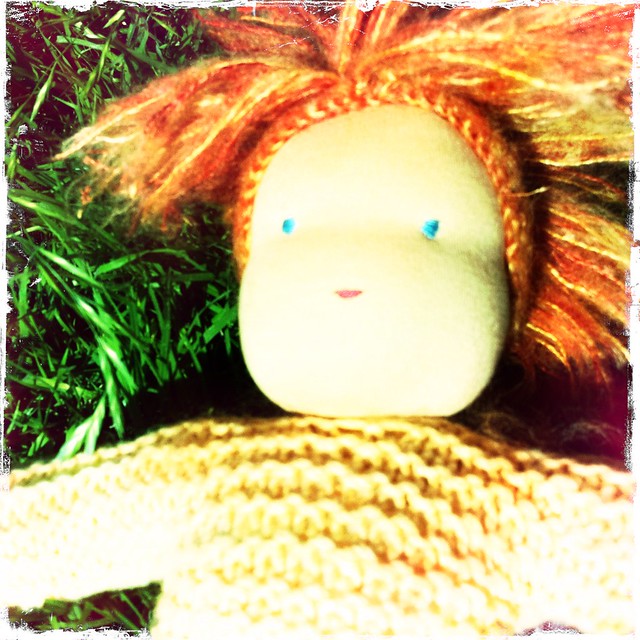
It's time to sew the eyes and mouth with embroidery thread and a very long needle. 
For the hair, I cut lengths of the two colours and thread through and knotted on using a crochet hook.

Hooray, almost finished! Just the clothes and he's ready for a birthday party! 

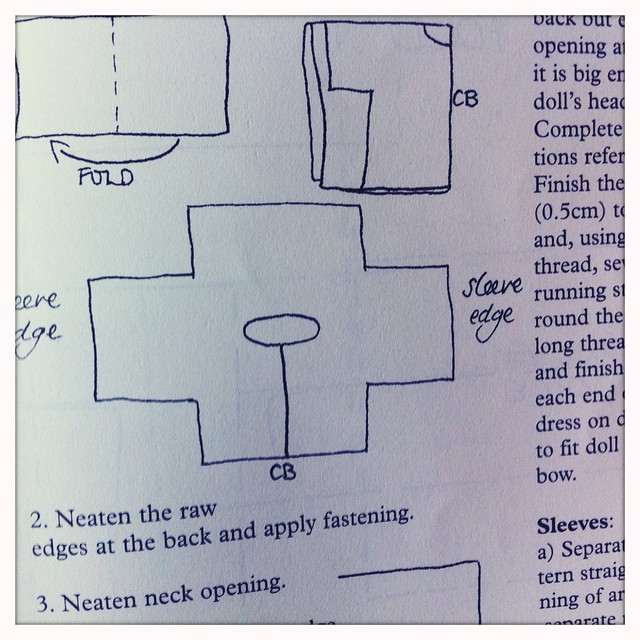
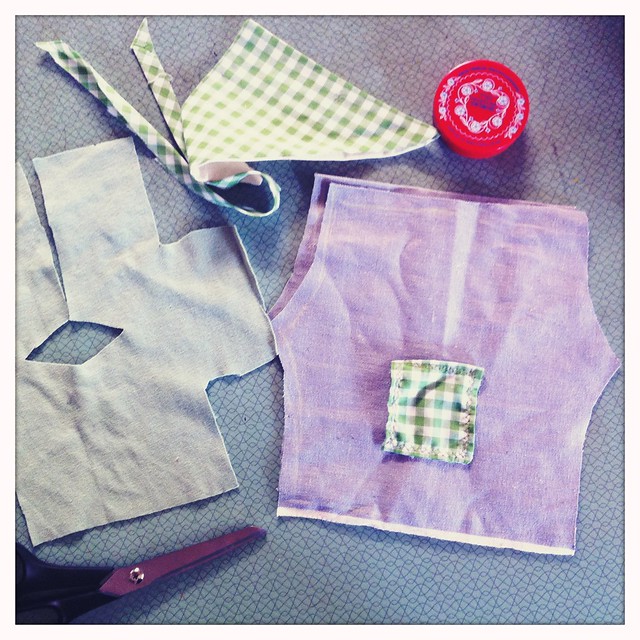
Again turning to my doll making bible, Making Waldorf Dolls , for the simplest way to make a shirt for a doll!