Showing posts with label dollmaking. Show all posts

Sunday, March 10, 2013

dolls and pirates

Just a quick post, weirdly sweltering heat in melbourne in March! What is going on here?
So yesterday we visited Anna and Katie who were selling their delightful wares in Offshoot pop up shop in High St Northcote.
I am a happy collector of Anna's dolls, and just HAD to take this little lady home with me. Don't you love her dress style! And her piggies are something, aren't they!

 Here she is with Anna's other dolls who have made it into the family. A happy bunch among the thyme!

And here is a pirate ship Mr P requested first thing yesterday morning, made from a rocket popsicle box. Ahhhaaaaar!


Friday, December 30, 2011

Knitted Waldorf/Steiner Doll aka Ginger Boy for a Ginger Boy

In my lovely lovely Steiner Craft Curriculum course, I started making a doll with a knitted body. The children do this in Class 6, being so adept by this stage at all kinds of handcraft, and also because they study human biology in this year.
I decided to make the doll for my little chook, who is turning two on New Years Day. Hooray!

This is not so much a tutorial so much as a visual overview of the process:

Knit the body first. I used 6mm needles and 16 ply pure wool in pastel apricot from Uralla Wool Room
I started at the shoulders and cast on 36 stitches. More details on how to knit these kinds of bodies can be found in A First Book of Knitting for Children.

 After knitting the body, you start on the head. I used a 40mm wide cotton medical gauze tube for the inner head, to give you an idea of the size.  There are some amazing tutorials for making formed doll heads online. Here is one! or from this marvelous book (my bible). The only difference would be that for a knitted body, leave a knot at the base of the "muff" (shoulder part), so that it can be undone later to fit the shoulders through the tiny hole made in the knitting (only 2 stitches cast off for the hole so pretty narrow). Make sure the head is stuffed very firmly.

Sew up the seams of the dolly, leaving a bit at the back for stuffing wool fleece. 
Undo the knot at the head/shoulder base, and squish the shoulder through the small hole in the knitting.
Then cut the gauze tube and sew in the ends to the shoulders.

You need to cut four squares about 15 cm square, and make feet balls and slightly smaller hand balls (filled with wool fleece). These will sit just inside the knitted openings and be stitched on with sewing thread once the doll is filled.
With the body and head sewn up completely, I then placed pins where the eyes, mouth and hairline looked best.

 The WIG: I decided to crochet the base wig, using a 4mm hook and Rowan Kidsilk Haze in Ember and Brick. 

Pin on the wig!
It's time to sew the eyes and mouth with embroidery thread and a very long needle. 
For the hair, I cut lengths of the two colours and thread through and knotted on using a crochet hook.

Hooray, almost finished! Just the clothes and he's ready for a birthday party! 

Again turning to my doll making bible, Making Waldorf Dolls , for the simplest way to make a shirt for a doll!


Sunday, December 11, 2011

Monday, October 24, 2011

Fair is fair!!

On the weekend we drove up to a wonderful Steiner school in a glorious rural setting to treat our lungs to the fresh mountain air, and be inspired by the remarkable work being done there.
Class 6 craft: Those dollies will feel a whole lot better when their hair grows.


Class 5 Woodwork


Class 5 Indian felt elephants


Class 5: Grecian Urns


Class 2 Blackboard Dawing


Class 2: Celtic Dragon!!

Class 2: dolls made by children
The blanket above was stiched by the children and teachers, using the marvelous and voluminous finger-knitting produced by the children in Prep to produce a wonderful comfort rug for the little resting spot in the classroom. This rug will no doubt travel with the class to Class 8!
Class 3: Socks knitted by the children

Tuesday, April 12, 2011

craft frenzy, or, what to do with odd socks


 The chickens and I have been overcome by creative urges over the last couple of days.
Sock dolls (thanks to the wonderful inspiration from this book ).
A commission for a robin.
Painting by Lady M.
and "potato bag doll".
It has been a joy using up all the cut up pieces of old clothes from the "rag bag".
oh, it's the school holidays...someone tell me homeschooling wouldn't work!


Tuesday, April 21, 2009

A Doll in a Day - Steiner/Waldorf Doll Making In Action


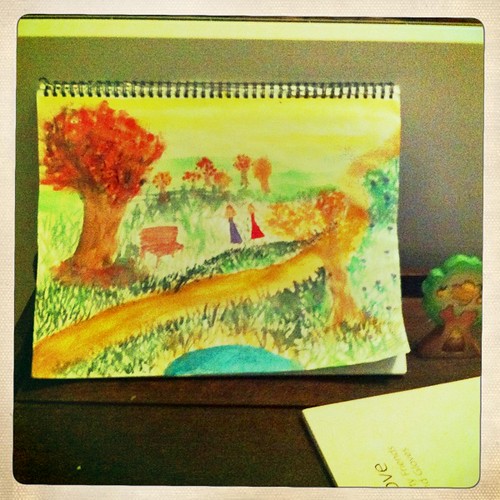
Chicken 1 sprained her ankle and stayed home from school to rest it. We sat in the morning sun working on kindergarten tables. She was finishing her Farming poem with sweet illustrations. I started looking at my Child Study for my Steiner teacher training course. Steiner stressed the importance of doing child studies, and particularly within the college of teachers (teaching staff at the school). A child is chosen, and the teachers observe the child on a physical level first, noting absolutely everything they can. Things like how they walk upon the earth, their gaze voice, teeth, fingers, nails, hand dominance. The study moves onto intuitive observations. Steiner said the mere fact that all the teachers are contemplating this child is very beneficial for the child, and recommended every child have at least one study done on them in their school life.

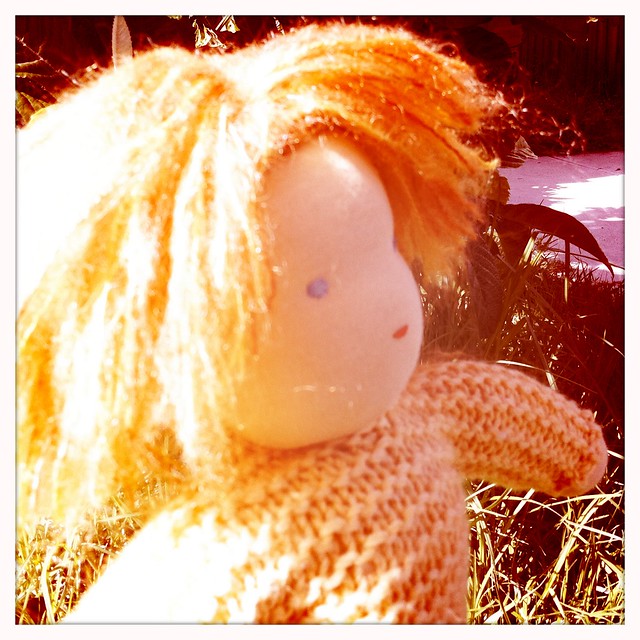
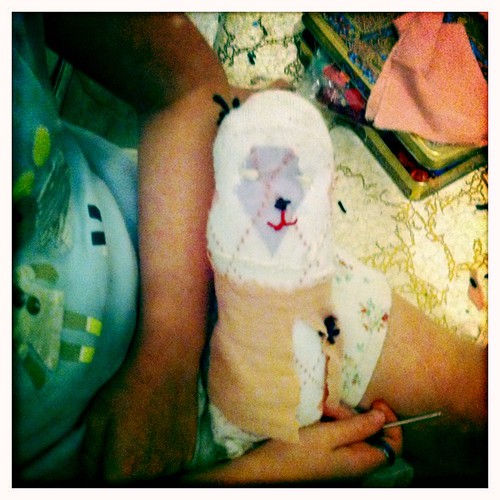
As for the afternoon, we decided to make a baggy doll for a dear little friend who ended up in hospital on the weekend and is needing cheering up! We felted a handful of op shop jumpers in the hot washing machine, and chicken 1 tried her hand at making a real Waldorf/Steiner formed head. We always use Maricristin Sealy's divine book, Kinder Dolls (now published as 
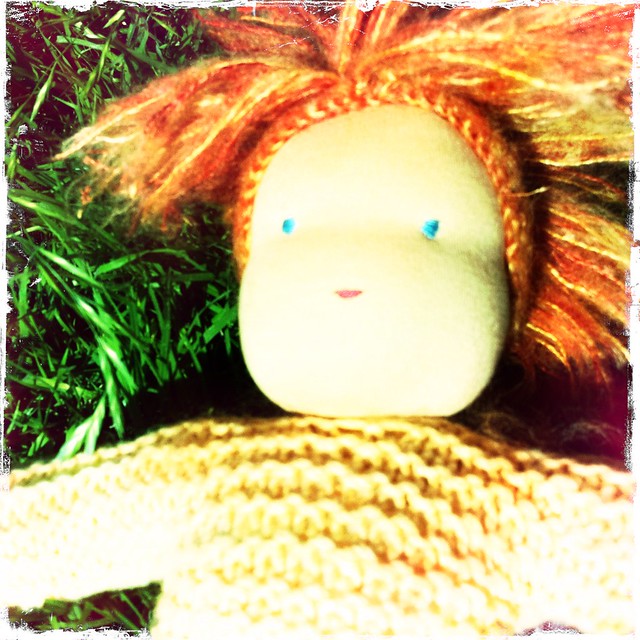
Making Waldorf Dolls). I love this book, but always tend to adapt, or mix and match the different aspects of different dolls in the book. I have some in depth photos of the sewing of the eyes and mouth. My girl added the embroidery at the end, oh, and we threw in some lavender from my recently relocated and dead Lavender plant...boo hoo.


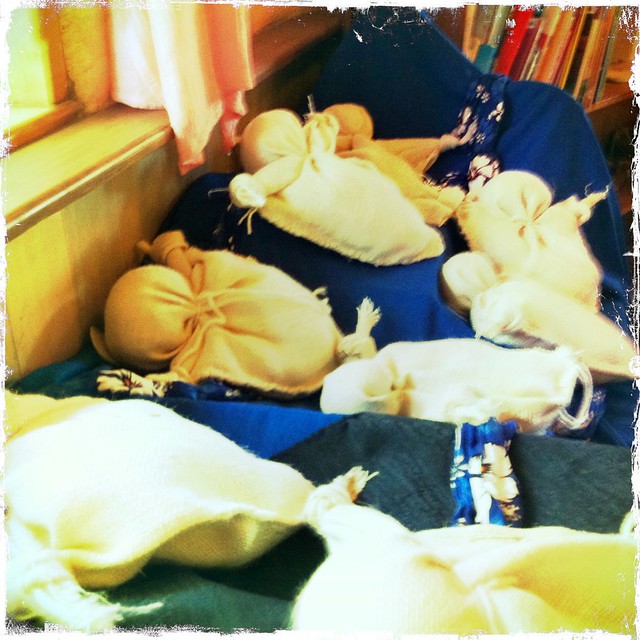
Stuffing the tube made from an old t-shirt, and tied with linen thread at the end and turned inside out.

Stuff it well, and you get a firm egg. You then have to tie it in the middle again firmly and that is the neck.

You have to halve the head by tying an eye line in the centre with the same linen thread.

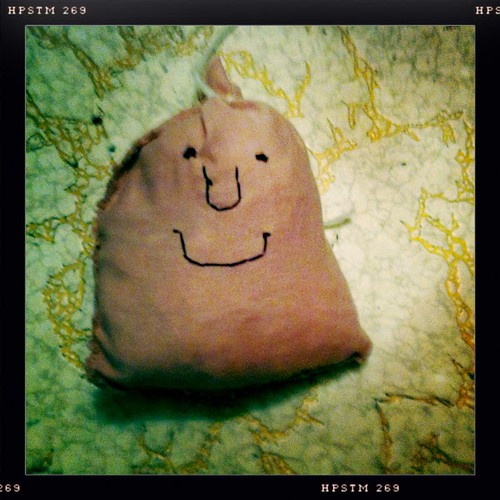
You sew an outer skin layer and pull it on like a sock. Tie it at the neck and there is you head.


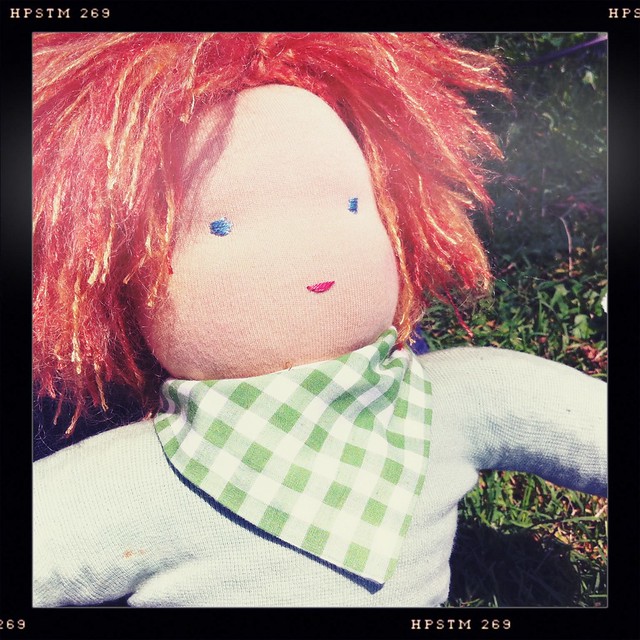
Pin out the eyes and mouth and start stitching from the back. Careful not to ever tug!


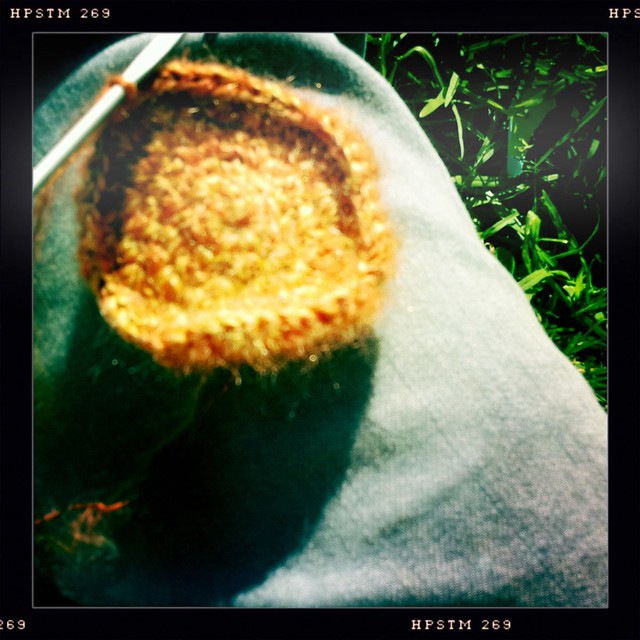
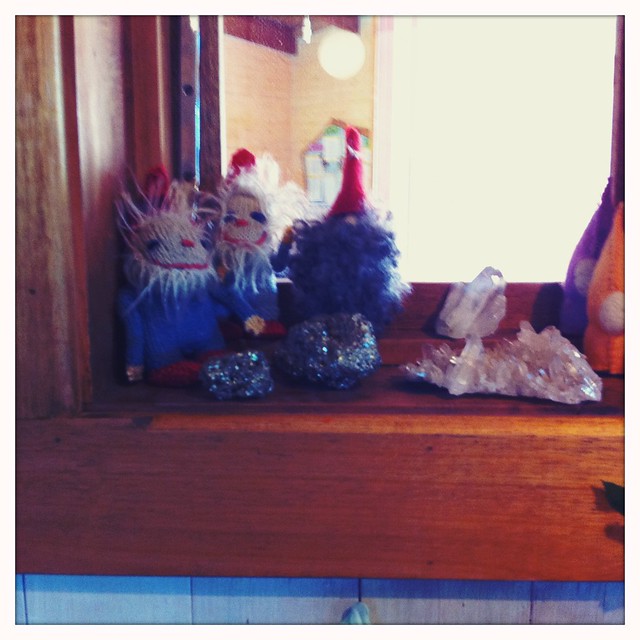
I decided to crochet a wig and sew it on, using a nice fuzzy mohair, which doesn't show up my random crochet effort.


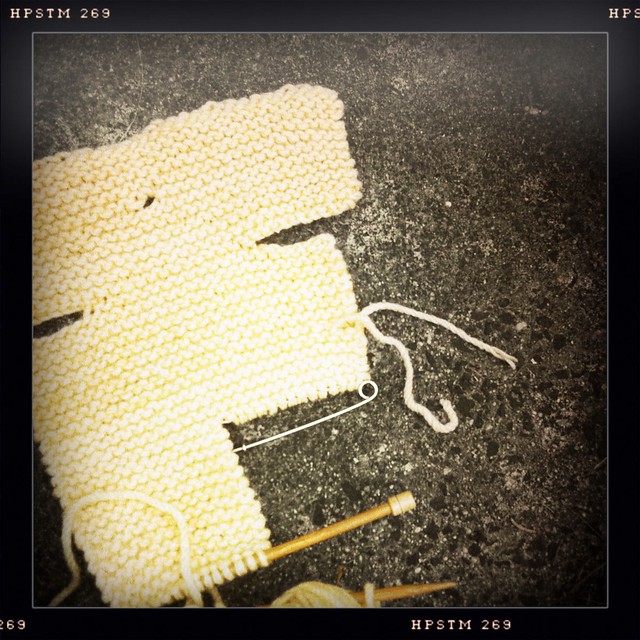
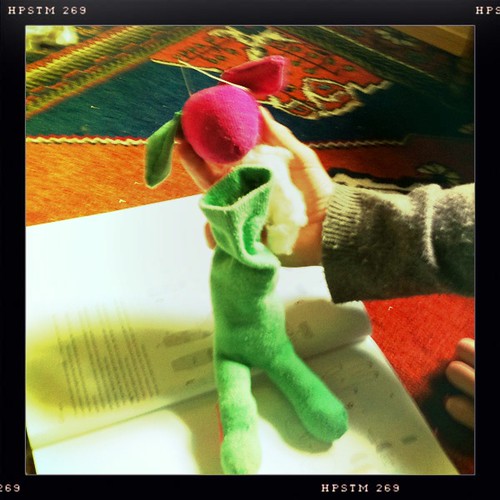
Another sausage like shape for the arms, which stitch onto the ball under the head.
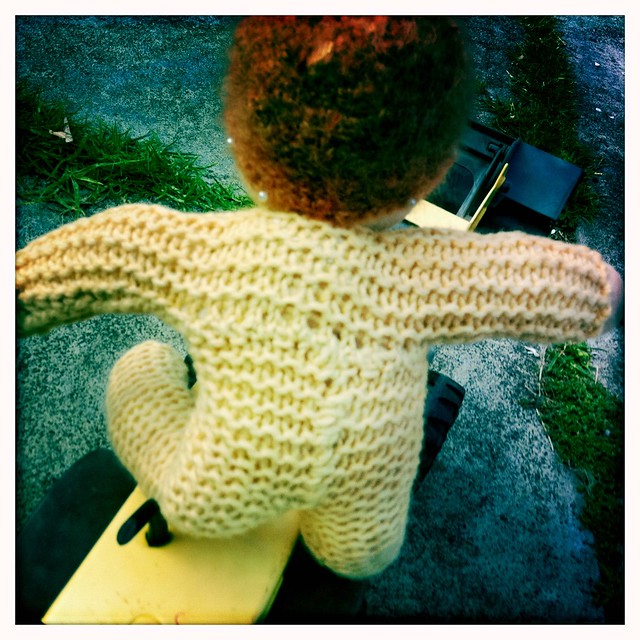
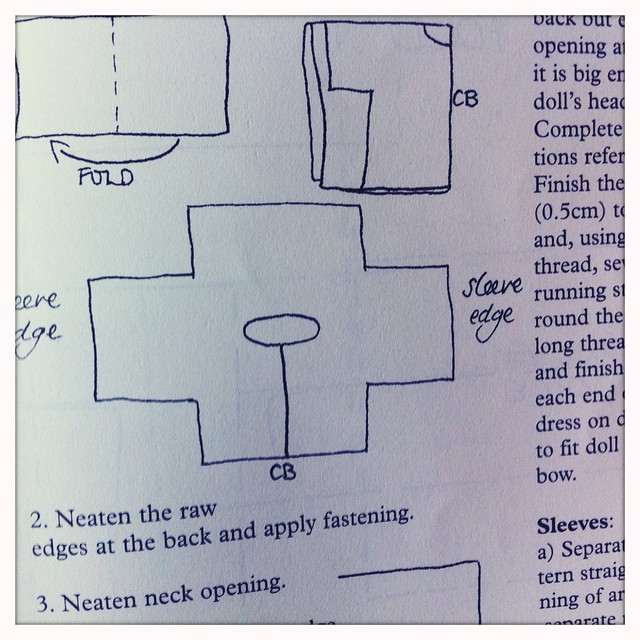
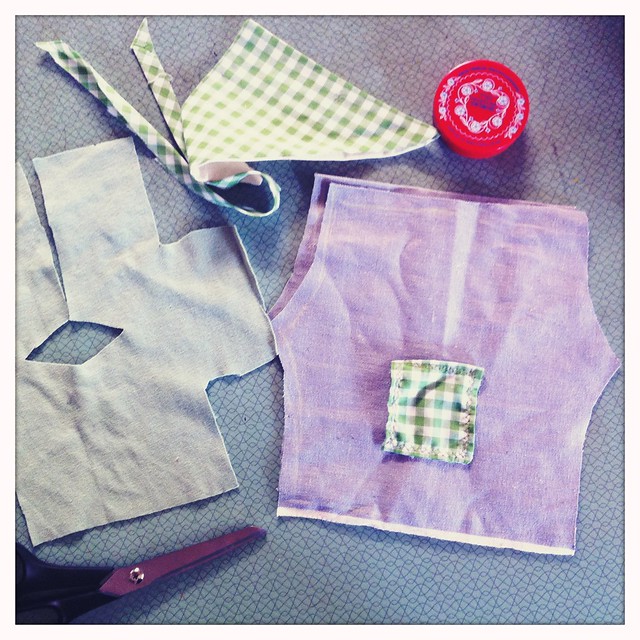
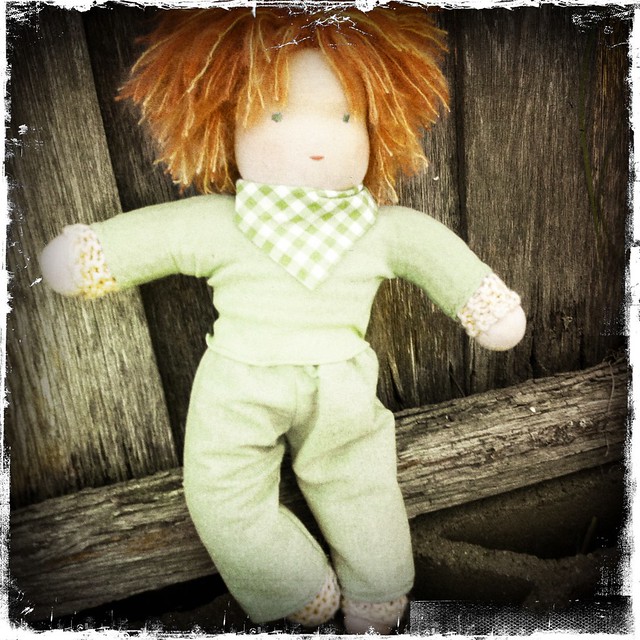
I used some felted jumper for the baggy body, cutting out one piece, stitching, turning inside out and stuffing. A small opening cut at the neck allows the arms and head to squeeze in and some sewing onto body.

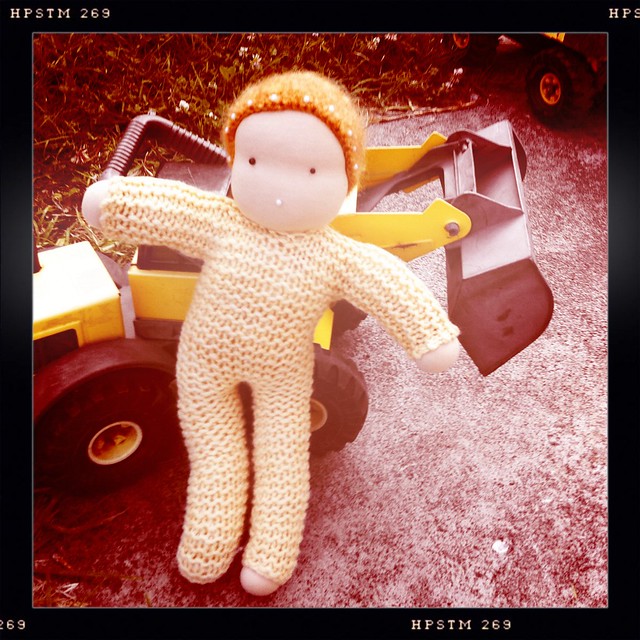
A bit of loving embroidery to finish. Yummy little Steiner dolly to cuddle, smelling all lavendery!